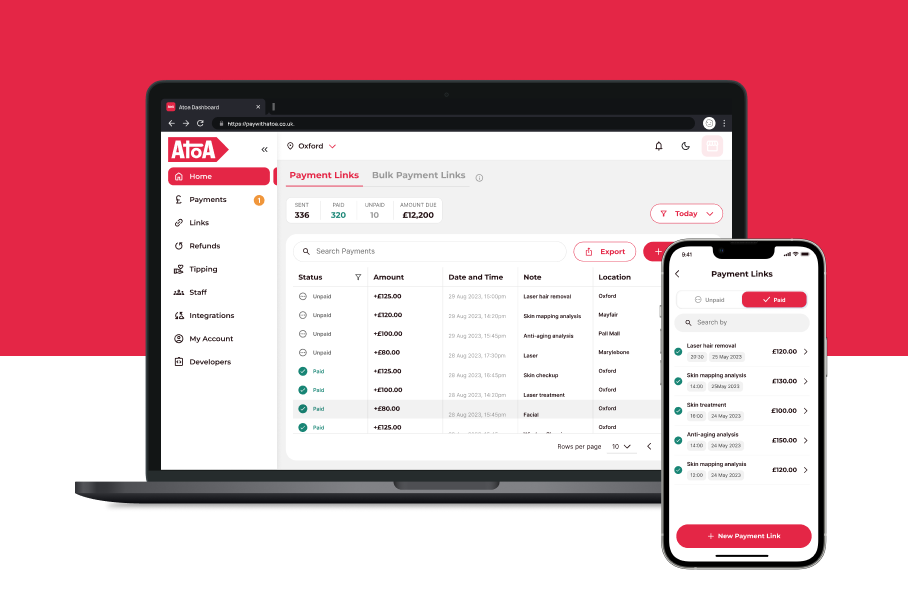
Ready to get started?
Easily integrate next-generation payments and financial data into any app. Build powerful products your customers love.
Want to know about accountancy app integration for the Atoa app and dashboard? You’re in the right place!
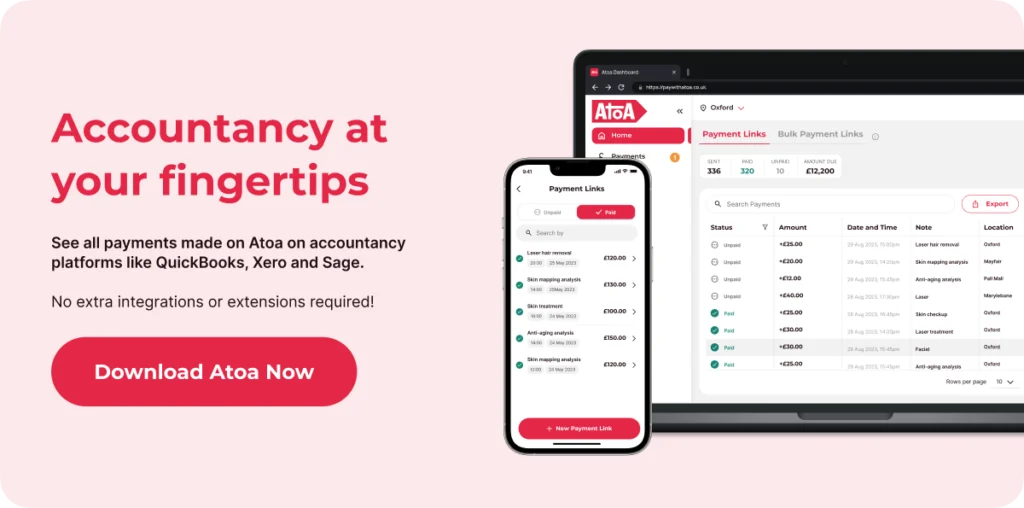
The good news? Atoa automatically integrates with all accounting platforms like Xero, QuickBooks, Sage, etc.
The bad news? Well, there isn’t any…
What is accounting software?
Accounting software and apps have come in leaps and bounds in recent years. They help you track business income, expenses, and essential financial information without drowning in receipts or spreadsheets. These handy bits of kit can also automate invoices, payroll and more to simplify daily tasks.
And the cherry on top? The software will automatically sync with your bank accounts, so your transactions, including those made on Atoa, pop up.
How Atoa integrates with accountancy apps in two steps
The existing sync between your accountancy tools and bank accounts reduces legwork by integrating with Atoa so you can see your payments. It’s already there for you without any complicated extensions or fuss. Just check the steps below are in place, and you’ll see all payments made on our app or dashboard in your accounting software.
It doesn’t matter who your accountancy software provider is; your bank account activity will always be synced up.
Step one: link your bank account and accountancy software
Connect your business bank account with your accounting software if you haven’t already. Then, check that your primary bank account for accepting Atoa payments is the same one you use for your accounting software provider like Xero, Sage, or QuickBooks.
Step two: use your synced bank account to take payments on Atoa
Always use your primary bank account, synced with Atoa and your accounting software, to accept payments.
Syncing this way helps things run smoothly so you get the most out of Atoa’s low-fee payments and your accounting software. Using your primary bank account also helps to reduce failed payments.
How to set up Xero integration
Atoa is a bank-to-bank payment processor that transfers payments directly from the customer to the merchant’s bank account.
To link with Xero, create a bank rule with an Atoa reference ID (e.g. ATOA23782929292). Once this is done, all payments taken on Atoa will be mapped as sales. Furthermore, monthly direct debits can be set as an expense for your tax records.
Step 1: Go to Xero Dashboard and connect your linked bank account on Atoa to Xero Accounting software. All of your bank feeds sync daily in the Xero dashboard, and you can also reconcile transactions individually if you like.
Step 2: If manual reconciliation bores you, create a bank rule to sort them by their reference ID automatically. Easy! Add the Atoa idempotency ID in the reference ID, which enables Xero to automatically fill in the description reference ID of the received payment. All Atoa transactions have the “ATOA” keyword in the reference ID – e.g. “ATOAXXXXXXXXX”.
Step 3: Go to Accounts > Create bank rule > Receive money rule. This enables Xero to identify the “Atoa” keyword from the reference ID to reconcile payments sent to the merchant’s bank account under the “Atoa Sales” channel.
Step 4: Atoa deducts a monthly invoice from your business bank account. Make sure you mark that transaction as an expense.
Connect your receiving bank account with Xero and create a bank rule to auto-reconcile any payments made on Atoa. Similarly, you can mark monthly direct debit as an expense to save time and tax expenses.
How to set up Quickbooks integration
To use Atoa with QuickBooks and save yourself some precious time, you must create a bank rule in QuickBooks. It then takes the ATOA reference ID (e.g. “ATOA23782929292”) to map payments taken on Atoa. Your monthly Atoa direct debit can also be mapped as an expense.
Step 1: Log in to your QuickBooks account and connect your bank account to fetch bank feeds automatically.
Step 2: Select “rules” in the transaction menu in QuickBooks. Give this rule a name and select “money in.” Use the transaction text to identify Atoa payments. We send the reference ID to the bank statement, which appears as “ATOAXXXXXXXXX.” Select the transaction type “transfer” and ”cost of goods sold.”
Step 3: When the bank rule has been created, QuickBooks will automatically identify payments from Atoa and reconcile them under the “Atoa Sales” category. Make sure you review and confirm the reconciled transactions so they’re accurate.
Step 4: Your Atoa processing fees are collected as a monthly direct debit. When you create a bank rule, mark this monthly direct debit transaction as an expense.
Step 5: Regularly review your bank feed and reconcile to check transactions are accurate. Make adjustments to rules or reconcile transactions manually if you need to.
Why accountancy app integration is good for your business
Payment and tax info in a few taps
There’s no need for extra integrations or linking accounts, making tax season and reporting less of a strain. Atoa and your accounting software sync by default, listing all your transactions automatically.
Smoother payments
Less faff, less stress, less declined payments. Payments are more likely to go through when you receive funds to and from your primary bank account.
Time is money
Forget manual entries and double-checking for errors. With Atoa and your accounting software communicating, you’re saving time to grow your business.
Easily update linked bank accounts in Atoa
Have your business bank account details changed? No problem! Tap your profile icon and go to the bank accounts section to check which account is linked to your Atoa app. Here, you will see any accounts already linked for payment deposits. Tap ‘add another bank account’ if you want multiple options.
To add an account, select your bank and enter your bank details, including bank name, account number, and sort code. To remove one, tap the account and choose ‘forget account’. Don’t worry; a pop-up will double check this is what you want to do before it bins the account.
You must link at least one account to accept funds and cover your monthly invoice, so keep this in mind when editing and removing bank accounts.
Here’s a great example of how this pairing could work for you…
💡Add an Atoa QR code or payment link to your invoice, ensuring your linked bank account on Atoa is the same one you use for Xero, Quickbooks or your chosen software. Clients can pay with a quick scan and tap in their bank app, boosting cash flow.
The perks? You get instant payments with way lower fees.
If you add employees to Atoa for payments, these transactions will still sync up if they go to the same bank account used for bookkeeping connectivity. Plus, you’ll make the most of your accounting software features like payroll and easy tax returns.
Accountancy app integration FAQS
How does Atoa simplify business accounting?
All transactions made on Atoa automatically appear in your accounting software like Xero and QuickBooks. You don’t need any extra integrations. Phew!
Why should I care about automatic syncing with accounting software?
By automating this process, you dodge the hassle of manual data entry. Your numbers are more accurate, and you can free up valuable time for other business tasks.
How soon will transactions appear in my accounting records?
Transactions should appear in real-time, so with Atoa payments, that’s instantly! This gives you an up-to-the-minute view of your business funds for easy cash flow referencing.
What’s the benefit to my business?
Your payments and accounting automatically sync, keeping everything organised without switching between multiple platforms or adding extensions.
Do I need additional integrations to sync?
Atoa takes instant and secure payments from your customer’s bank app, so the details will automatically sync to whichever accounting software you use.
How does accountancy app integration provide accurate financial records?
Automatic syncing reduces errors that can happen with manual entry, like transposing digits. It means that your books are reliable and give an accurate financial picture.
Still not discovered the magic of Atoa? Don’t wait any longer, head over to your device’s app store now and search to download the app. Then, set up an account, and we’ll give you 7 days of free transactions.


