Frequently asked questions
Email us at hello@paywithatoa.co.uk to get in touch
Xero is a cloud-based accounting software that can be used to create customised invoices in seconds, which you can send to customers in a few clicks.
Head over to Xero.com and click the “Try Xero for Free” button to start a 30-day free trial. Fill in your details, agree to the terms, and Xero will send you a confirmation email to get things rolling. Just click the link, set a password, and you’re one step closer to sending invoices.
Enter your business details and click “Start Trial” to finish.
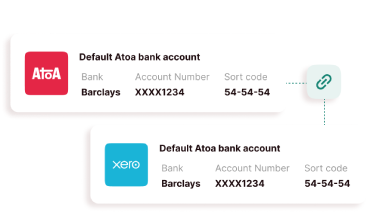
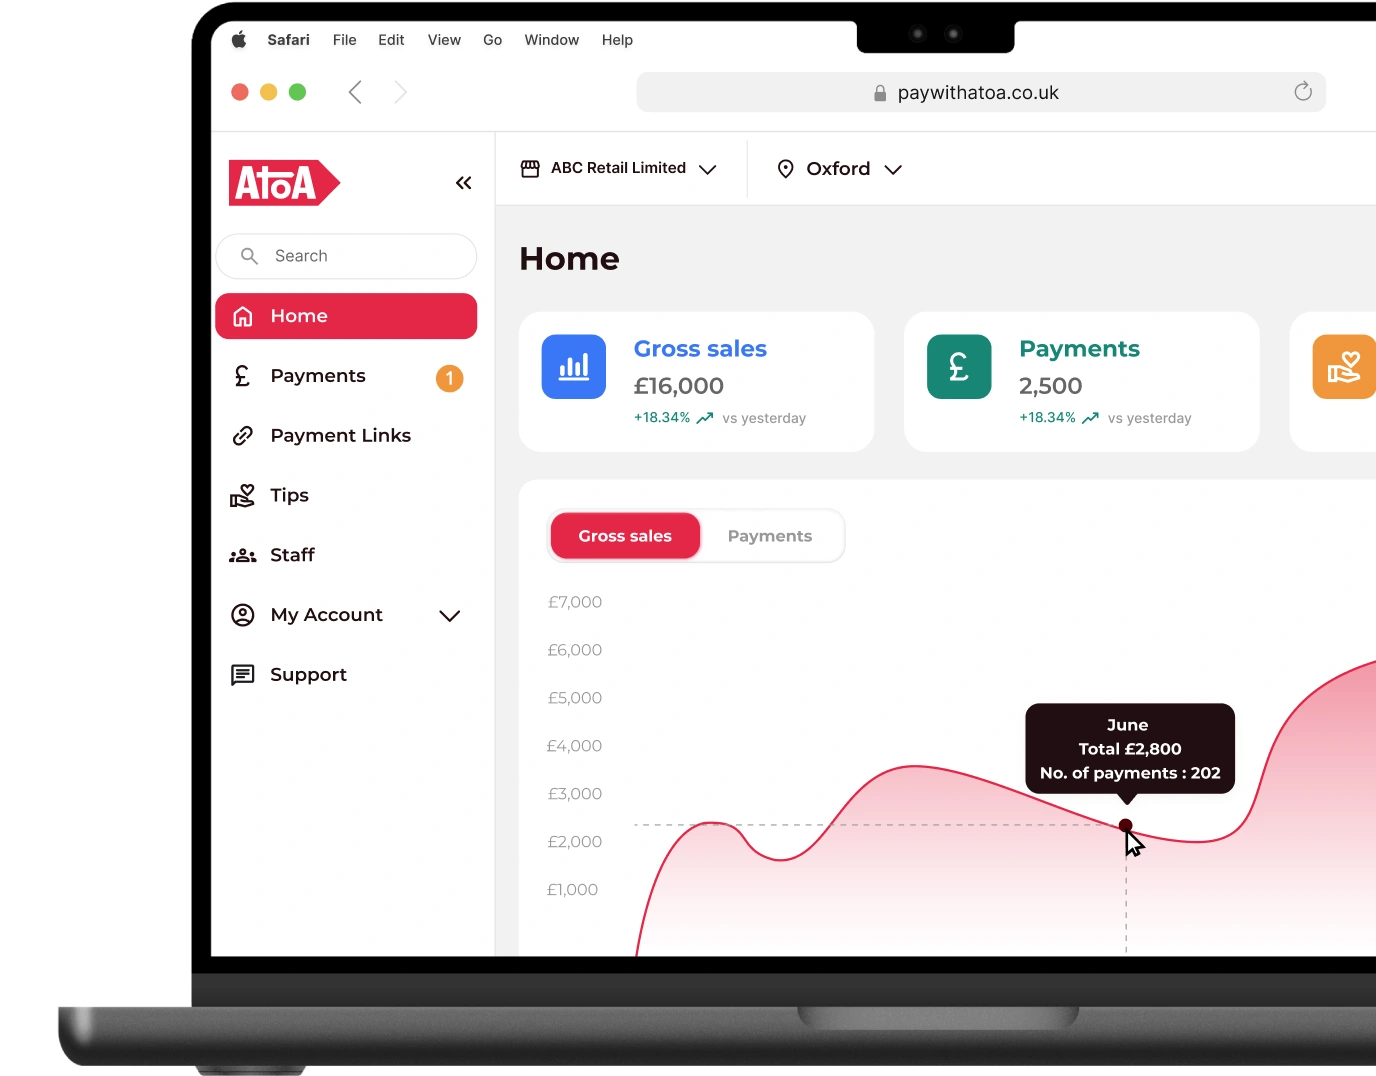
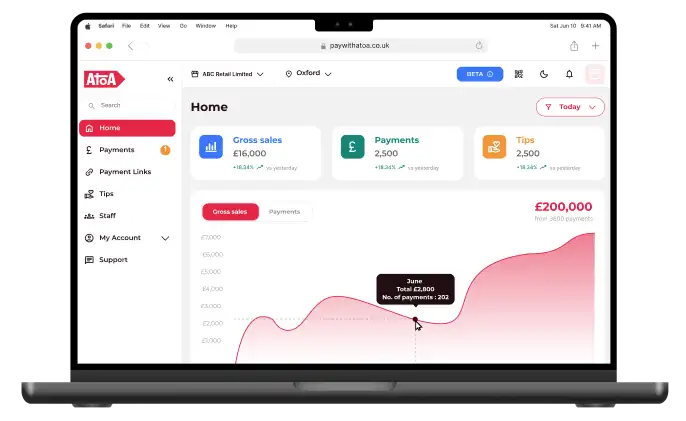
To start accepting instant payments, the business creates an Atoa account, links a bank account and connects Xero.
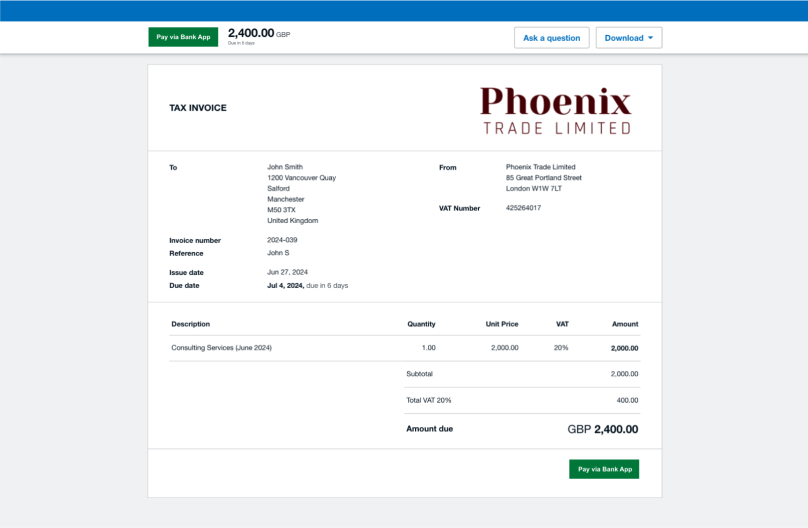
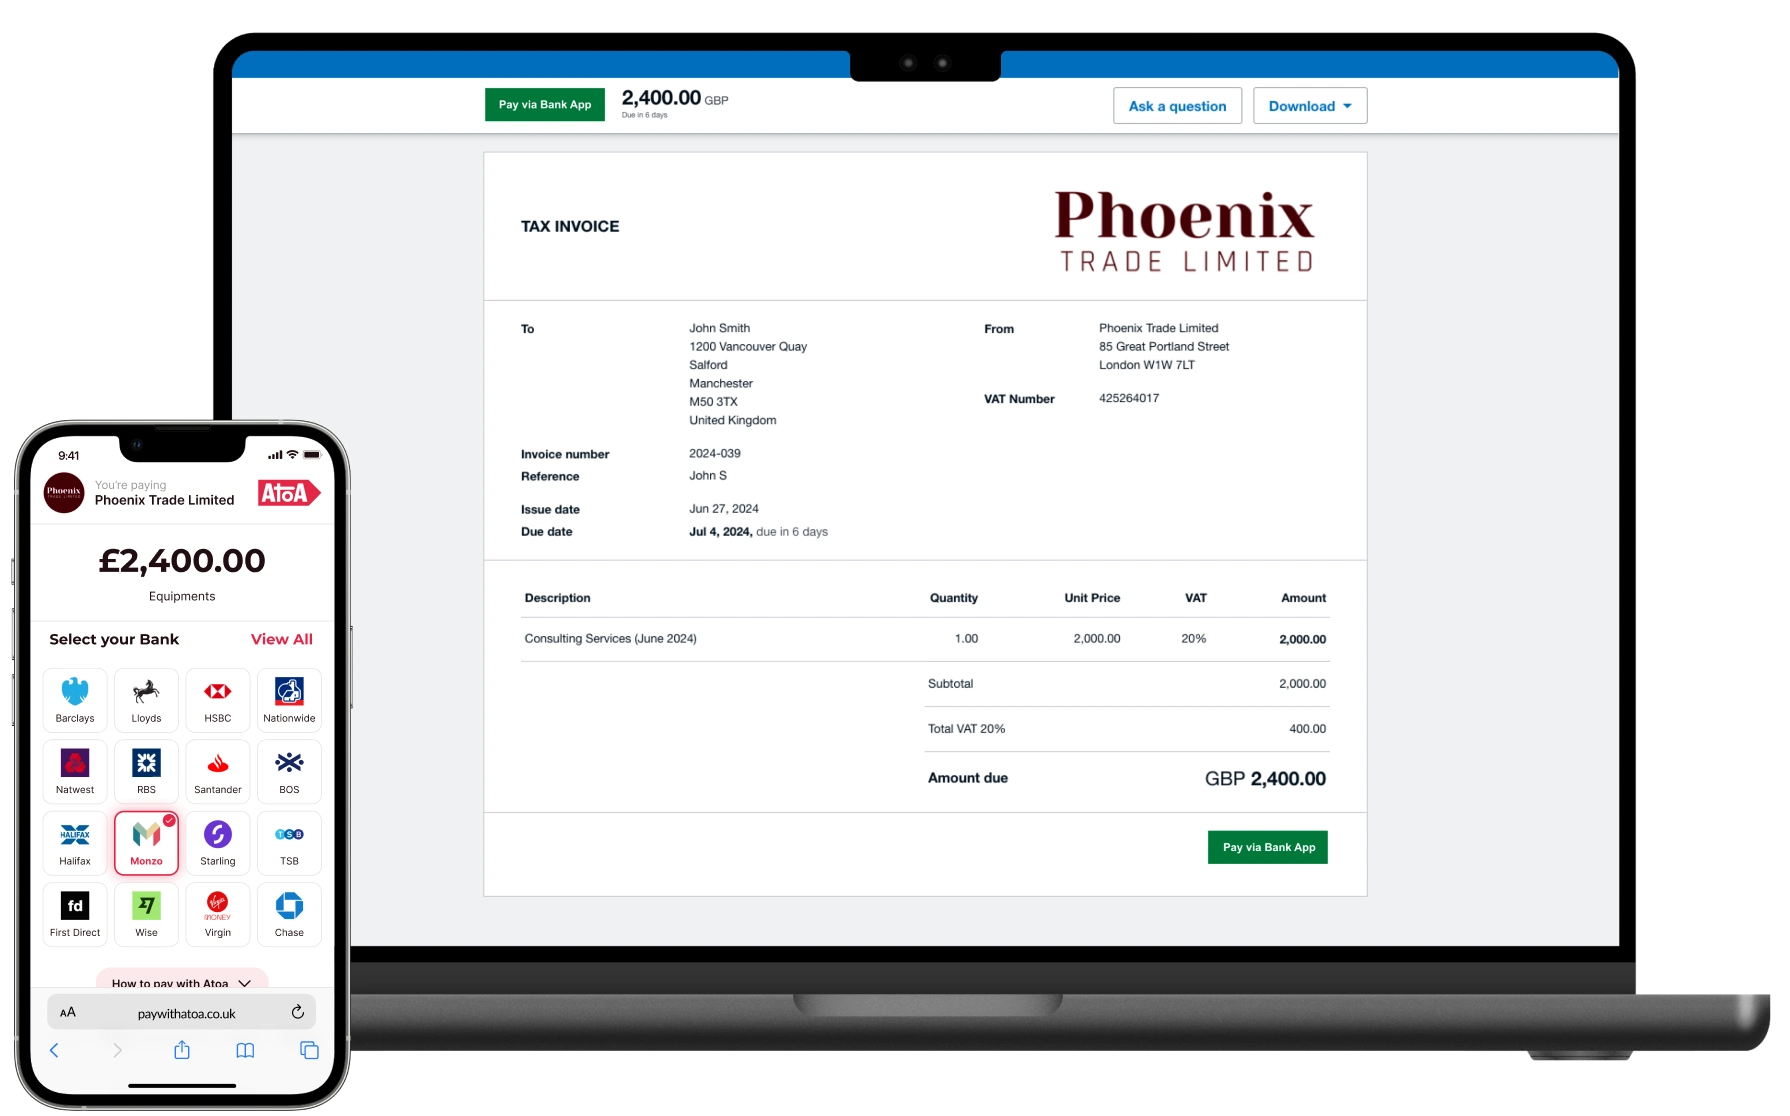
They create an invoice and a ‘Pay now’ button appears which clients click to pay from their bank account using Atoa.
The customer clicks the button from their phone or laptop, which takes them to a secure payment page.
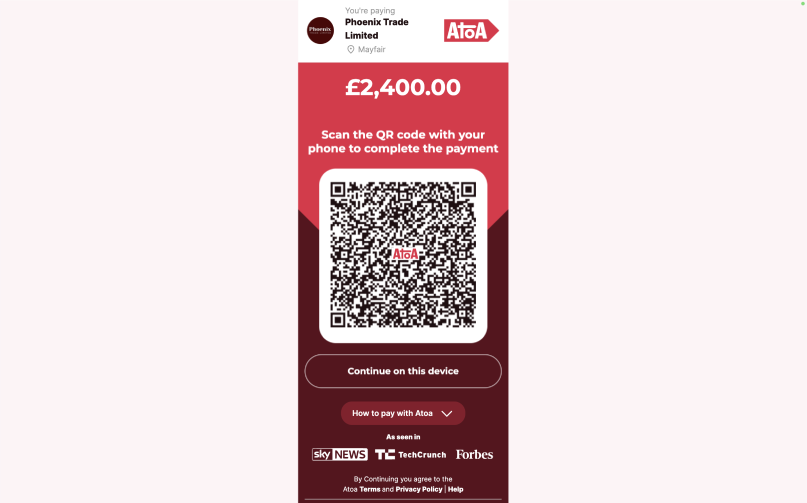
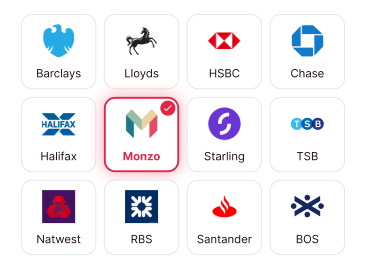
How customers pay with their smartphone – Customers scan the QR code which opens a webpage on their phone screen. Here, they select their bank and confirm the payment from their personal or business banking app using a fingerprint scan or face ID. The funds are instantly transferred to the business’s bank account.
How customers pay on their computer – Customers click the “Continue on this Device” button, select their bank and authorise the payment from their personal or business internet banking website. The funds are instantly transferred to the business’s bank account.
Connecting your accounts to accept instant invoice payments is super easy and only takes 30 seconds.
On the Atoa dashboard, head to “My Account” and click the “Integrations” tab directly. Select “Connect to Xero.” Atoa will ask you for access to your Xero account and to confirm the bank where your Xero invoice payments will be made.
Now you can create invoices directly in Xero and get paid instantly using Atoa.
Connecting Xero with Atoa to accept invoice payments means you’ll benefit from up to 50% lower fees than leading card payment providers. Simple, transparent pricing—no hidden costs.
If you’re already using Atoa, you’ll continue paying your current rate with a small additional fee for Xero. No surprises, just straightforward pricing.
Leading card payment providers take up to 7 days to pay you. With Atoa, your money is in your pocket in seconds. This instant bank transfer feature gives you quicker access to your hard-earned money, which can help you run your business smoothly.
There are two ways customers can pay with Atoa:
Pay by Bank App (preferred) – Scan, pay, done. Your customer scans the QR code, sees the bill, picks their UK bank app, and pays. You get a notification from Atoa saying your payment has landed in your account. The payment is automatically reconciled with Xero.
No phone? No worries. Your customer can skip the QR code and click “Continue on desktop”. They choose their preferred bank account and make a secure payment through their bank app.
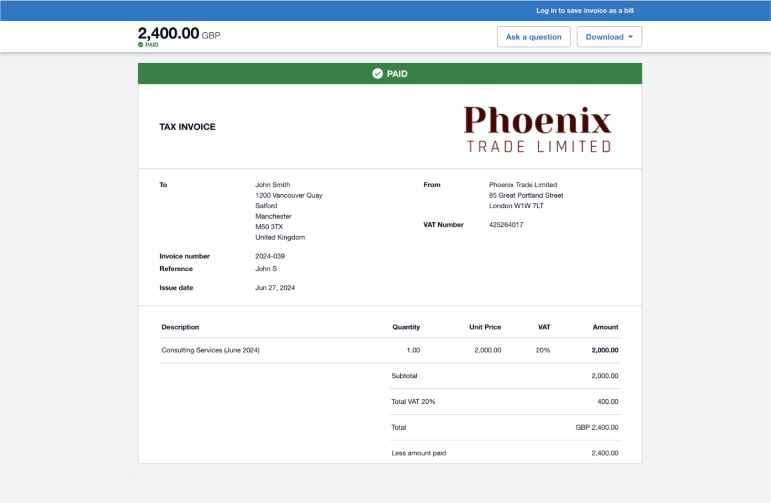
You get a notification from Atoa about the payment landing in your bank account and the payment is instantly synced with your Xero account.
Paying with Atoa is as easy as tapping a button. You don’t have to type in a million account details to make a payment. But there are more reasons why “Pay with Bank” is better…
- More money in your pocket: You save up to 50% on your transactions than using your card machine.
- Forget about chargebacks: You have peace of mind knowing your money is safe and sound. No more worrying about customers disputing payments or chargeback fees.
- Faster payments: You don’t have to wait days for payments to clear. Instead, the money lands in your bank account within seconds.
- Super secure: Customers pay directly from their own UK bank app with a face or fingerprint scan, adding an extra layer of protection to every payment.
- Zero admin: Every Atoa payment is automatically synced in your Xero account and marked as paid.
Head to your Atoa dashboard and find the “My Accounts” section. Click on “Integrations” and then the “Settings” cog. You’ll see a “Disconnect” button – give it a tap. A pop-up will appear to double-check you really want to do this. Done, your account is disconnected.
