
Ready to get started?
Easily integrate next-generation payments and financial data into any app. Build powerful products your customers love.
SHARE ARTICLE


 Share link copied!
WooCommerce does not process payments itself. To accept money on your store, you need to connect a payment gateway, which is the service that handles the transaction between your customer’s bank and your account. The good news is that adding one is straightforward, and most stores can go from nothing to live in under an hour.
This guide covers how to add a payment gateway in WooCommerce step by step, whether you are switching on a built-in method, installing a plugin, or adding Pay by Bank alongside cards.
Before you start
A few things make the setup smooth:
- WooCommerce is installed and active on your WordPress site.
- SSL/HTTPS is enabled, so the padlock shows on your checkout. Gateways will not process card data on an insecure site.
- Your store currency and selling countries are set under WooCommerce, Settings, General.
- You have a merchant or provider account ready, with the API keys or login for the gateway you want to add.
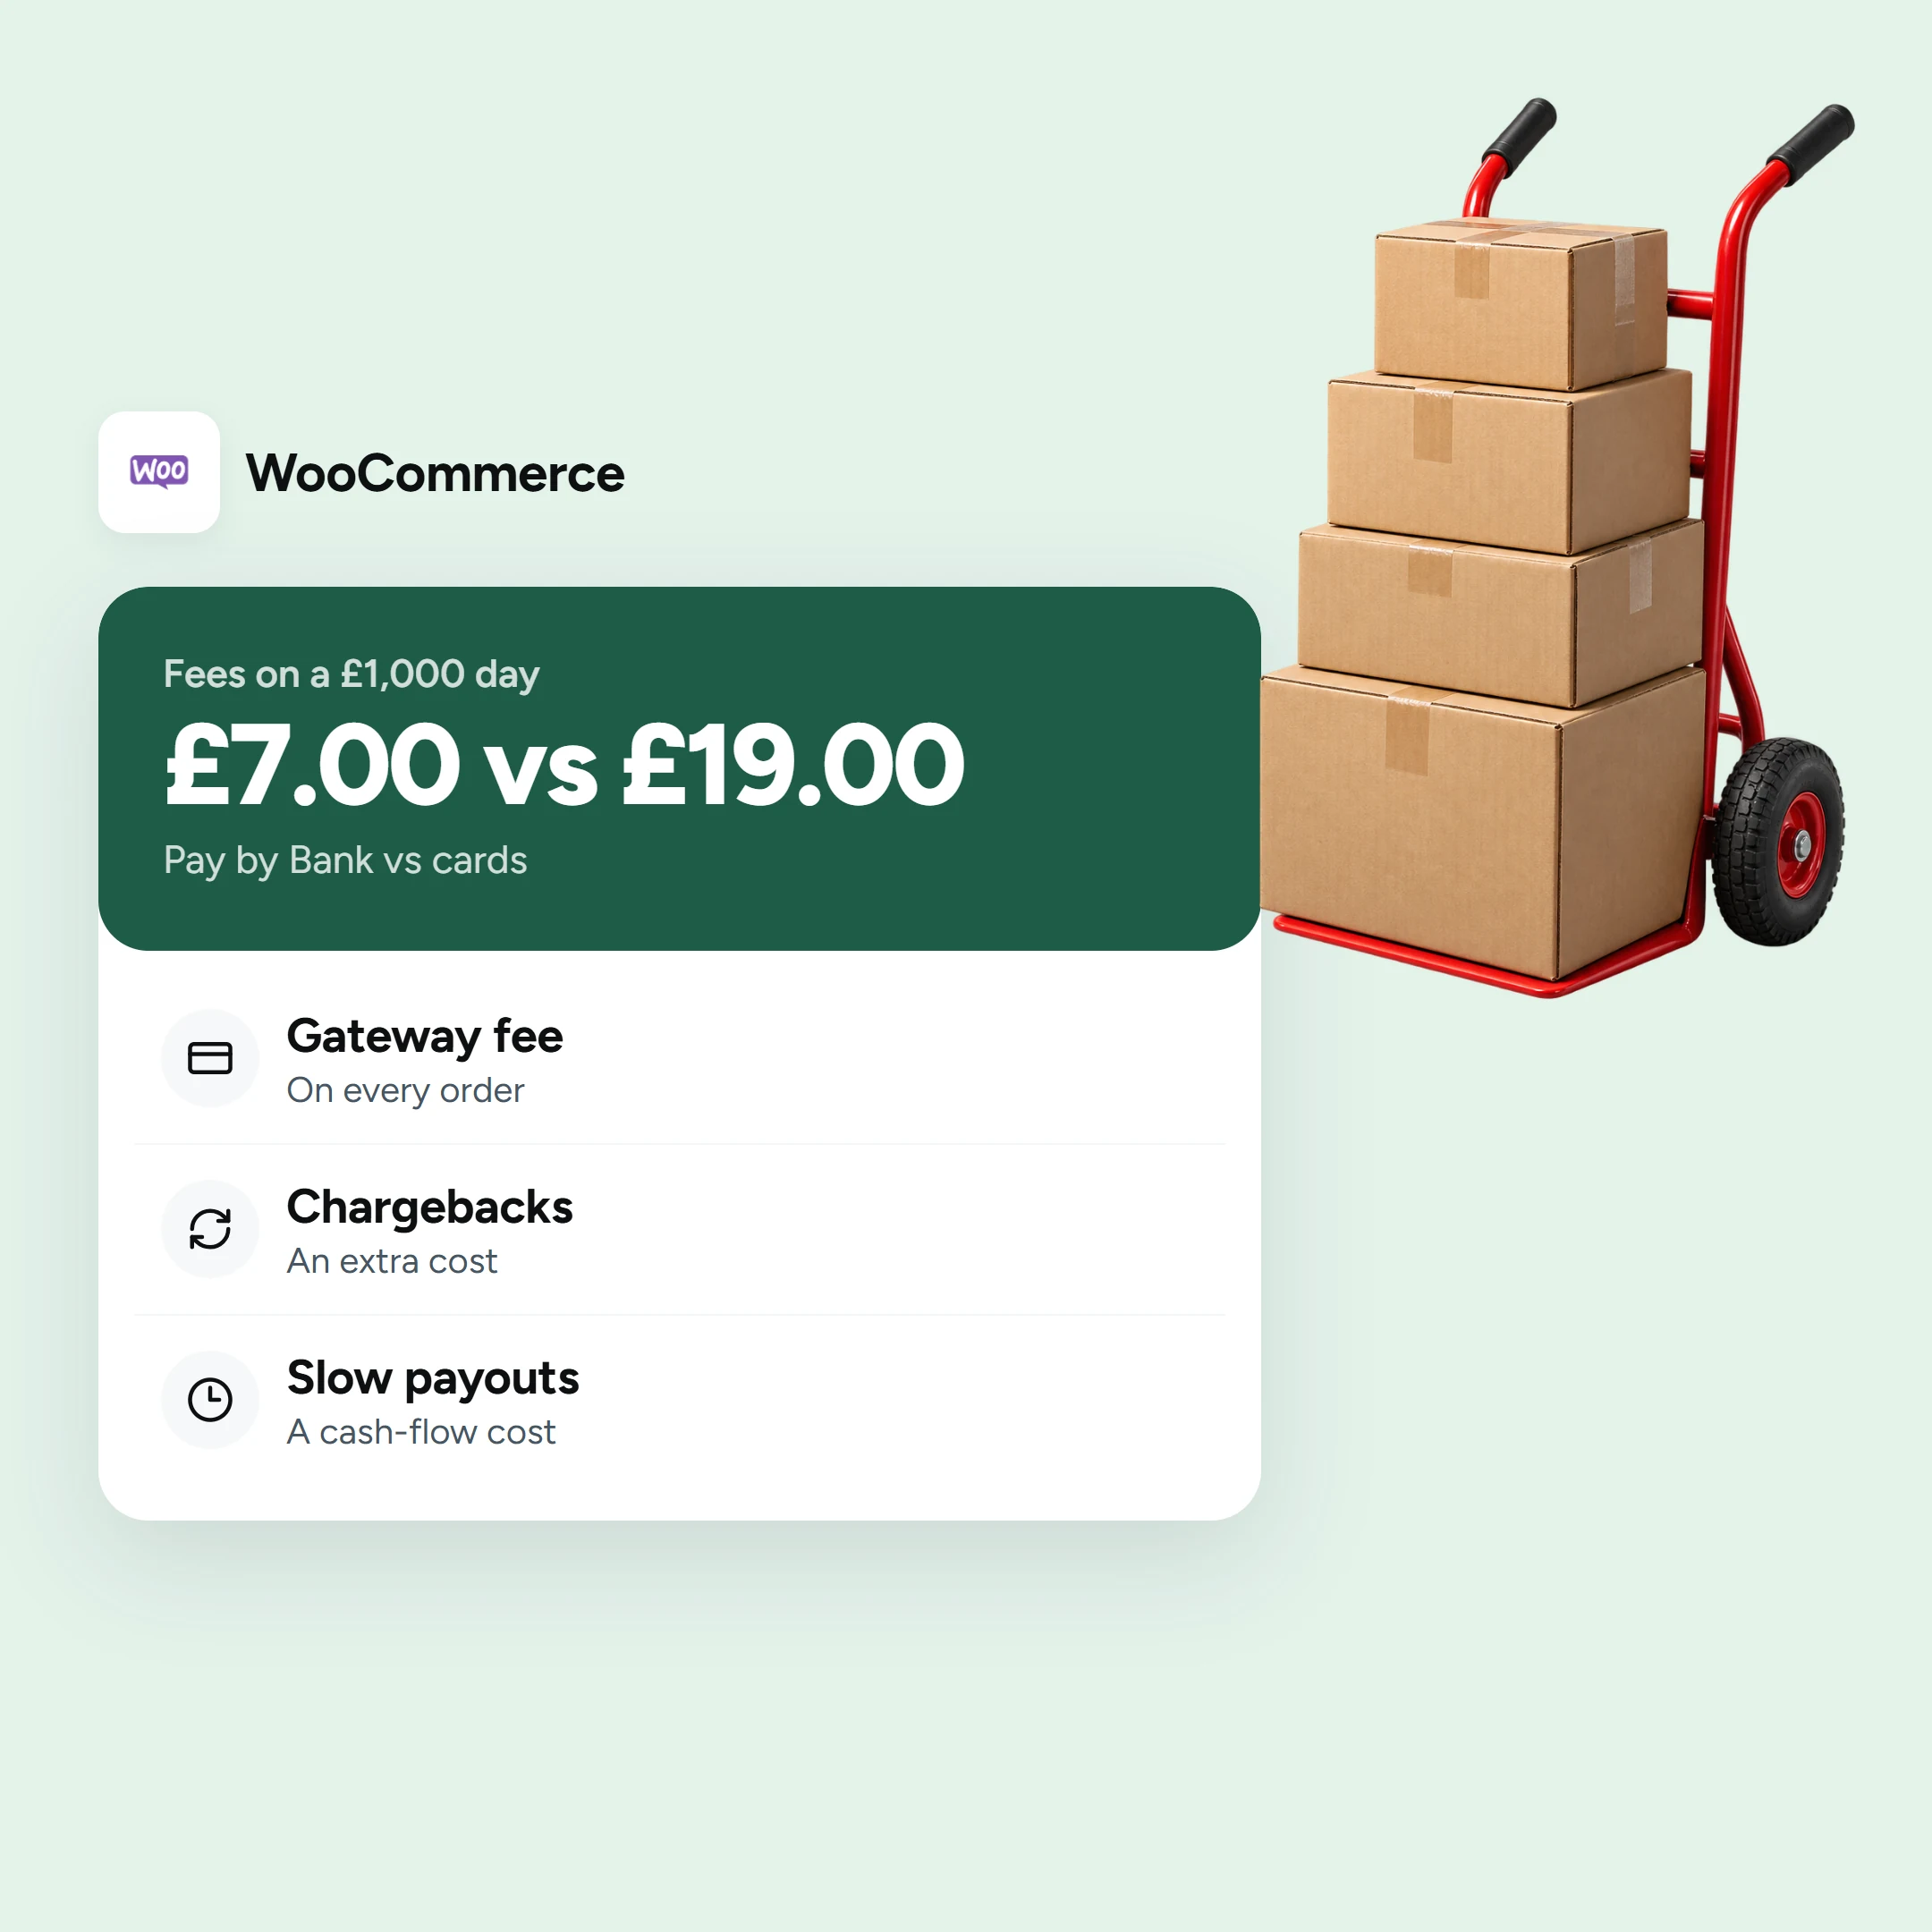
- You know which payment methods you want. If you are still deciding, our WooCommerce payment gateway guide covers the options, our guide to WooCommerce transaction fees compares what each costs, and our overview of e-commerce payment solutions sets the wider context.
Method 1: Enable a built-in payment method
WooCommerce ships with a few methods you can switch on without a plugin, such as direct bank transfer, cheque and cash on delivery.
- Go to WooCommerce, Settings, Payments.
- Toggle on the method you want.
- Click Manage to set its title and description (what the customer sees) and any instructions.
- Save changes.
These offline methods are simple to enable but require manual reconciliation. Most stores add an online gateway alongside them so customers can pay instantly.
Method 2: Add a payment gateway with a plugin
Most gateways, from cards to Pay by Bank, are added by installing the provider’s plugin. The steps are the same regardless of which gateway you choose.
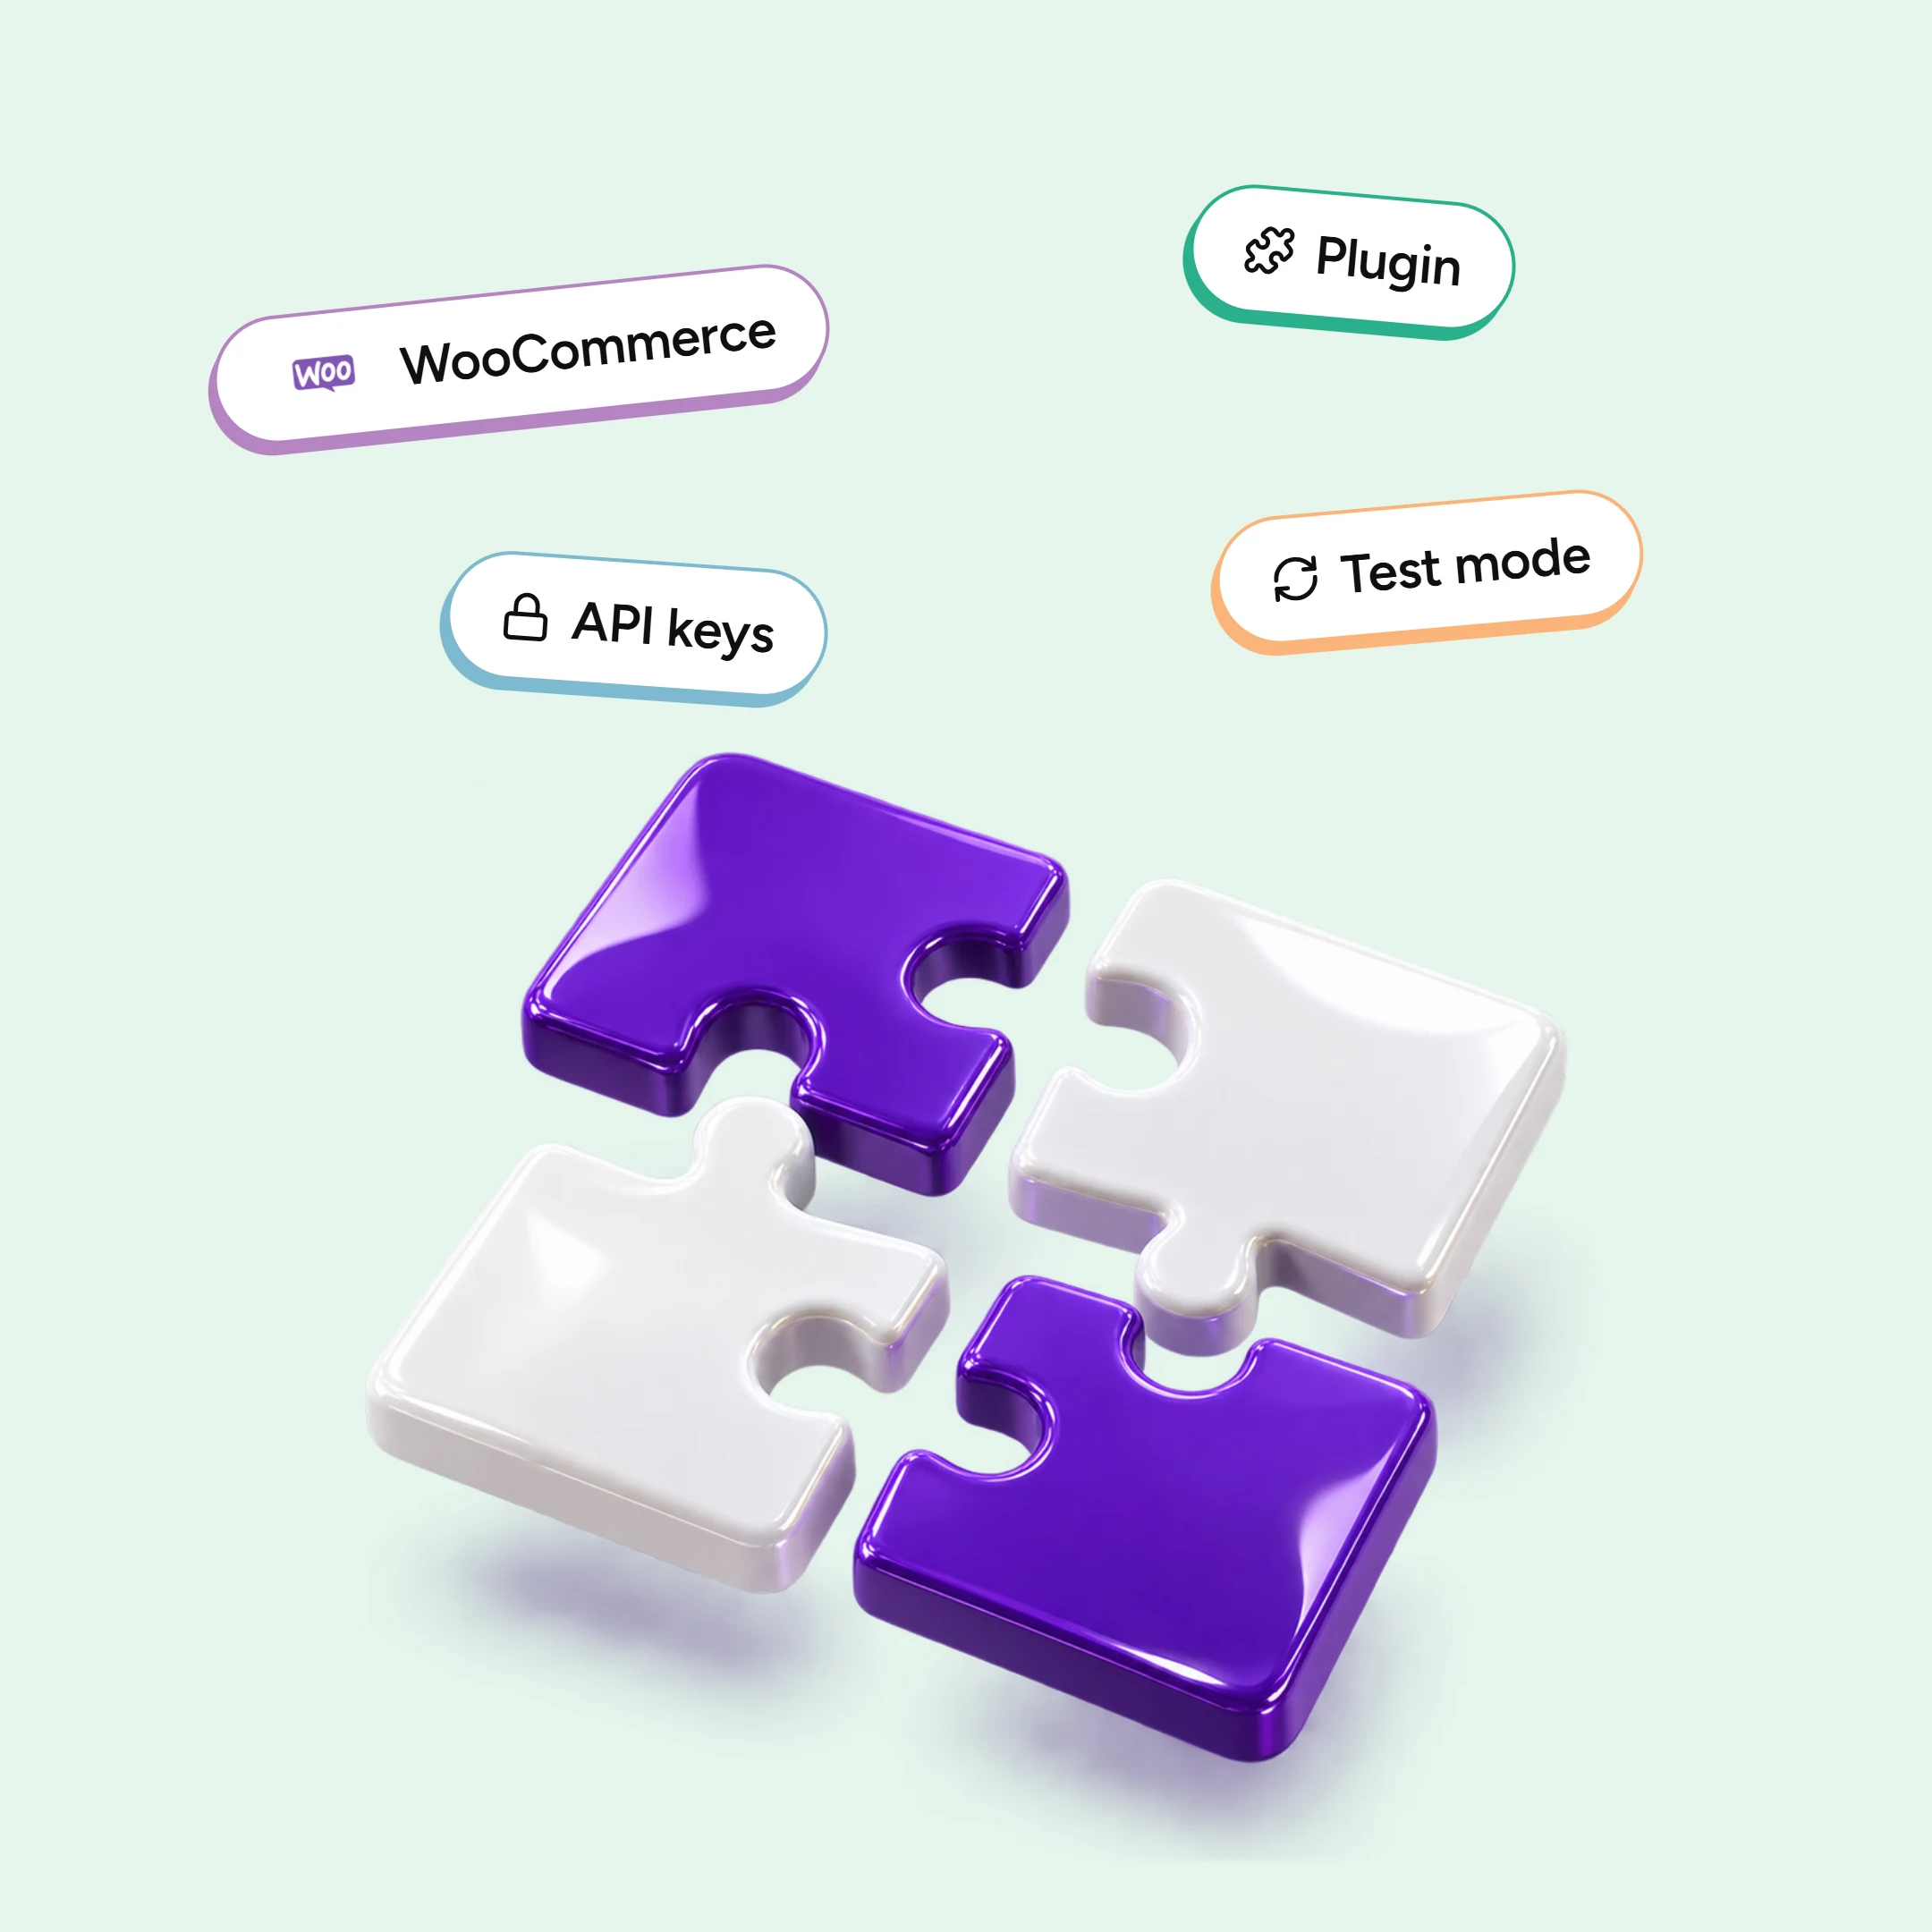
1. Install the plugin. In WordPress, go to Plugins, Add New, search for the gateway (for example Stripe, WooPayments or Atoa), then Install Now and Activate.
2. Open the gateway settings. Return to WooCommerce, Settings, Payments. Your newly installed gateway will appear in the list. Click Manage.
3. Connect your account. Enter the API keys, or use the secure “connect” button to link your provider account. Keep test and live keys separate. Mixing them is one of the most common setup mistakes
4. Configure the details. Set the title and description shown at checkout, the sort order in the payment list, and any restrictions by country or minimum order value.
5. Choose the mode. Set Test or Sandbox mode while you verify everything works. Switch to Live only once a test payment has gone through successfully.
6. Enable it and save. Toggle the method on and save. It now appears at checkout.
How to test your payment gateway
Never go straight to live. With the gateway in Test or Sandbox mode, place a test order using the provider’s test card numbers or sandbox bank details. Confirm that the payment completes, the order is marked as paid in WooCommerce, and the transaction appears in both WooCommerce and the provider dashboard. Test a declined payment too, so you know how failed transactions behave and what the customer sees.
Going live
Once the test passes, switch the gateway to Live mode, confirm your live API keys are in place, and run one small real transaction end to end. If everything looks right, you are good to go.
Troubleshooting common issues
- The gateway does not appear at checkout: Check it is enabled, that your store currency is supported, and that the customer’s country is in the allowed list.
- SSL or “insecure” warnings: Confirm HTTPS is active across the site, not just the checkout page.
- Payments fail or “keys invalid”: You are likely mixing test and live keys, or the mode does not match the keys. Recheck both.
- Nothing saves or the method vanishes: A plugin conflict or cached settings can cause this. Deactivate other payment plugins to isolate the issue and clear your site cache.
- Order stays on “pending payment”: The gateway webhook or return URL may not be configured. WooCommerce needs to be told the payment succeeded. Check the webhook settings in your provider dashboard.
Adding Pay by Bank to WooCommerce
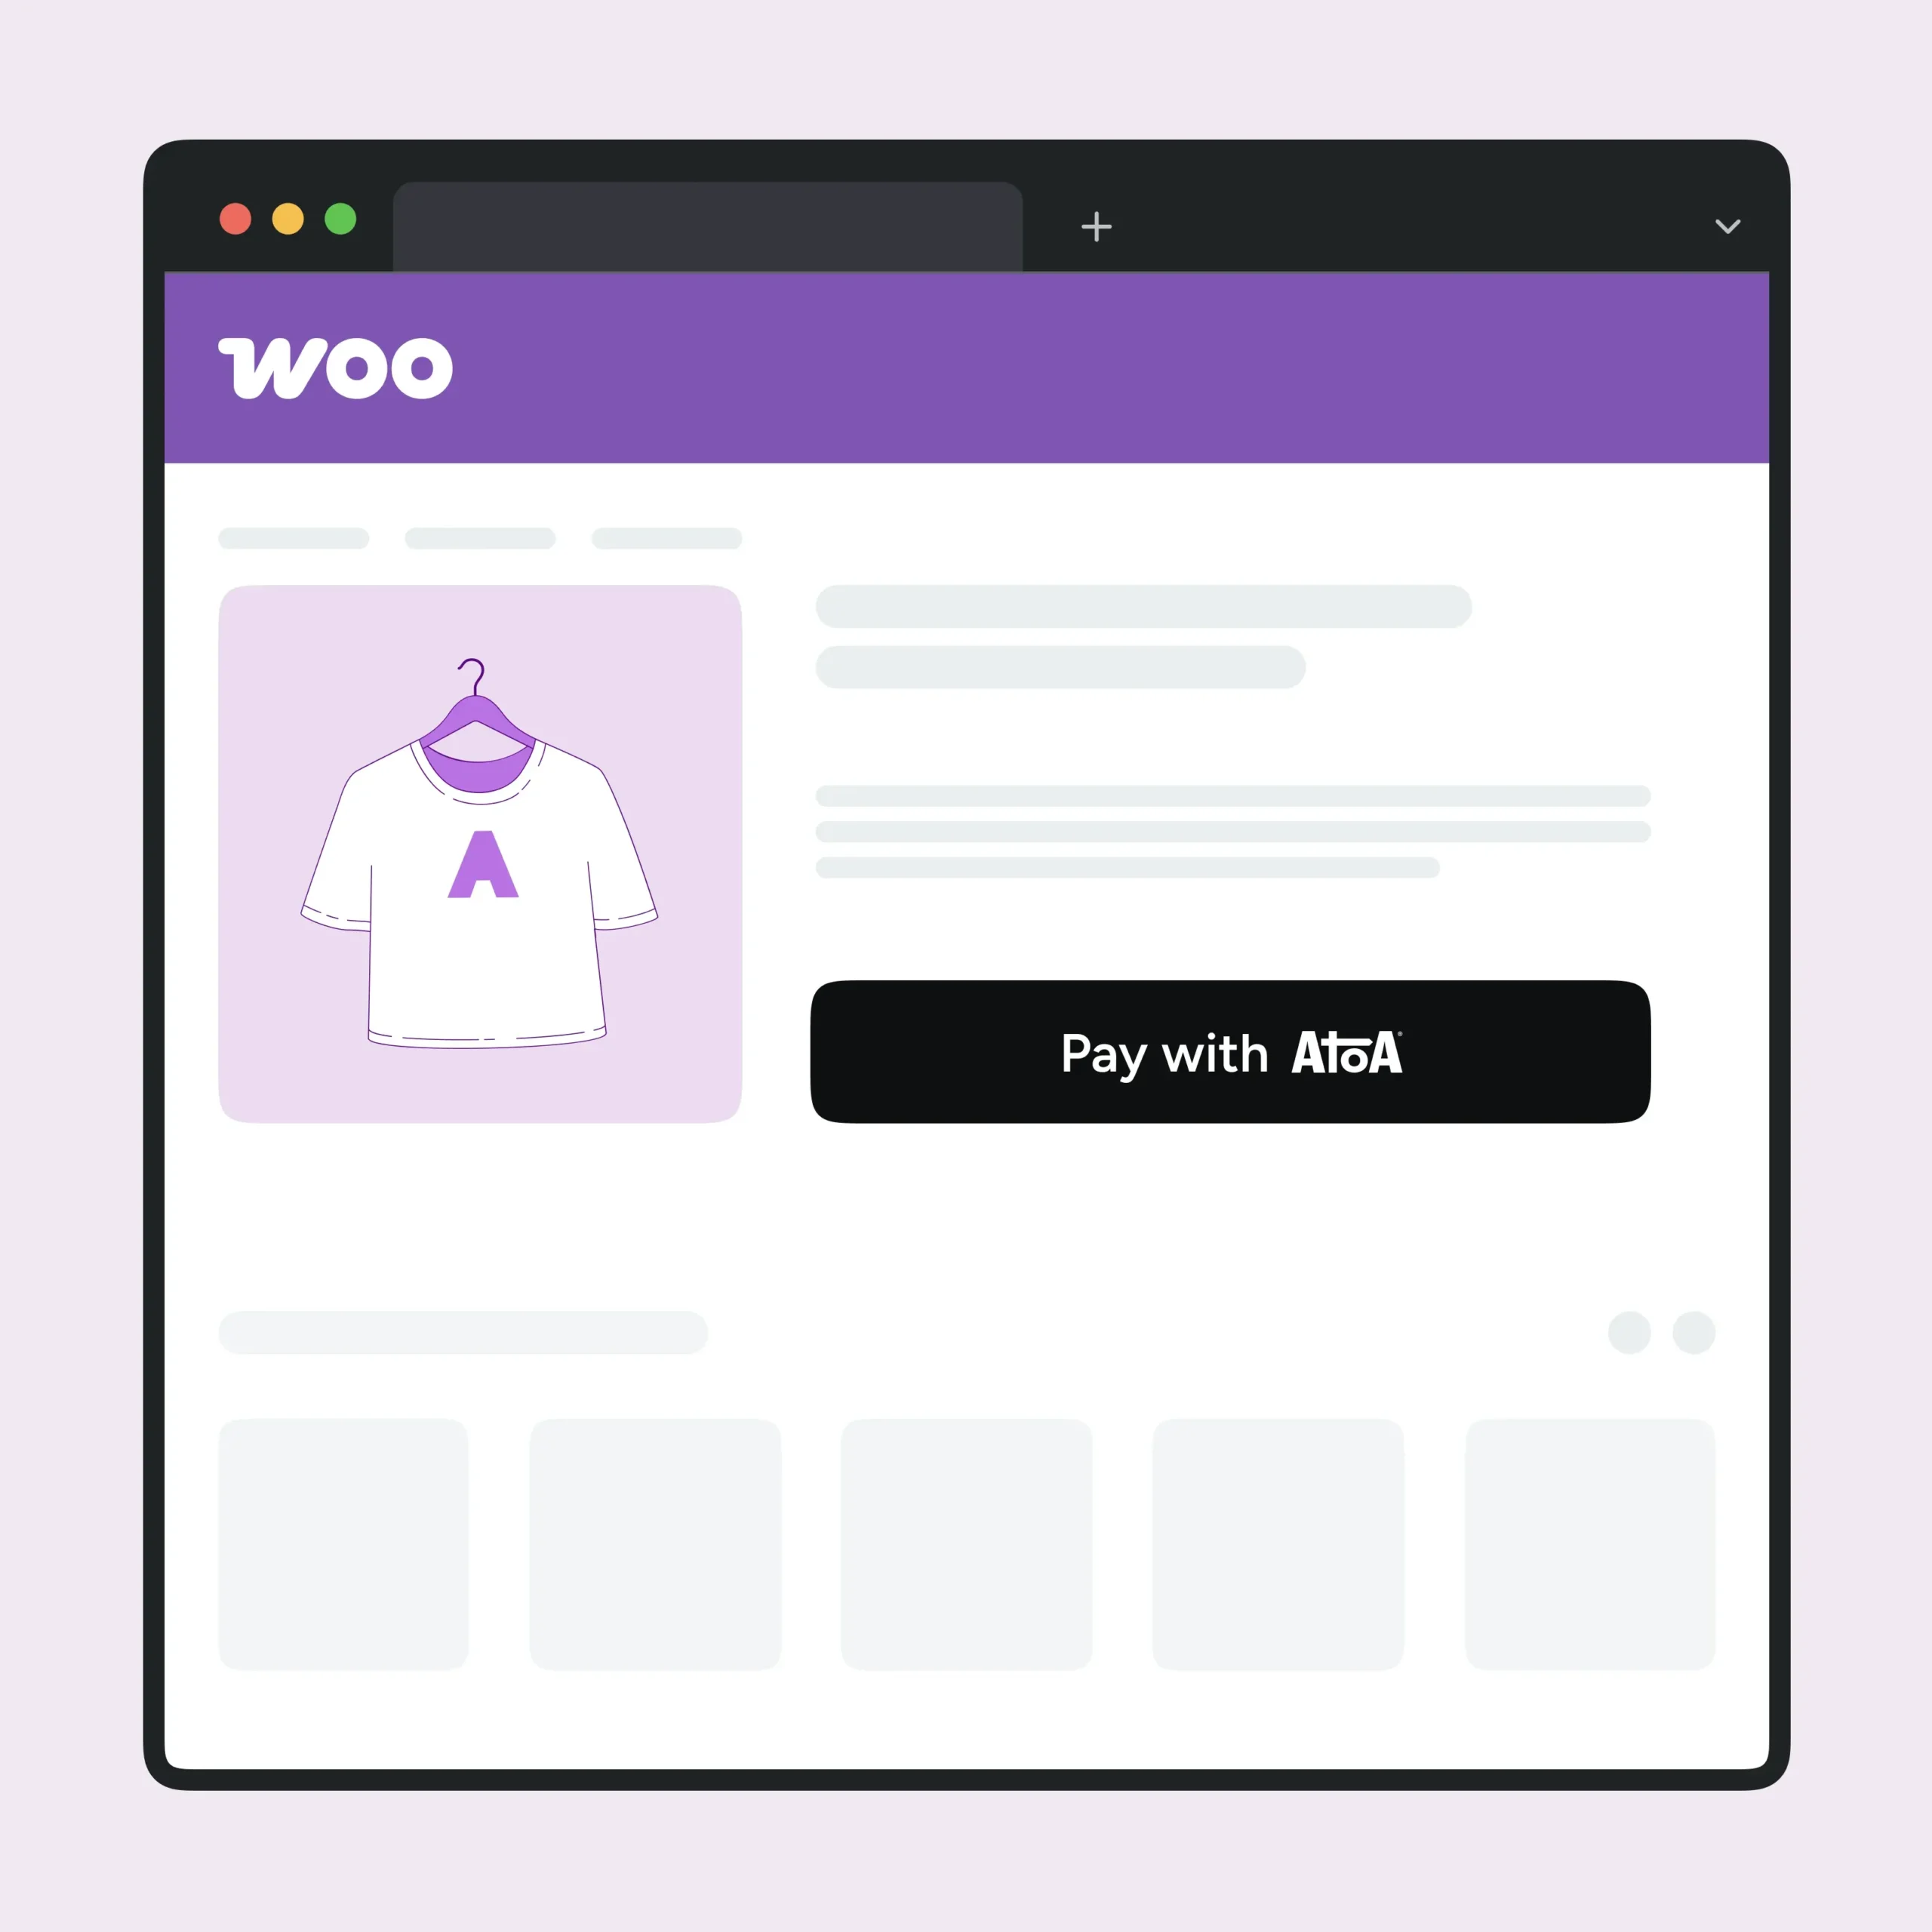
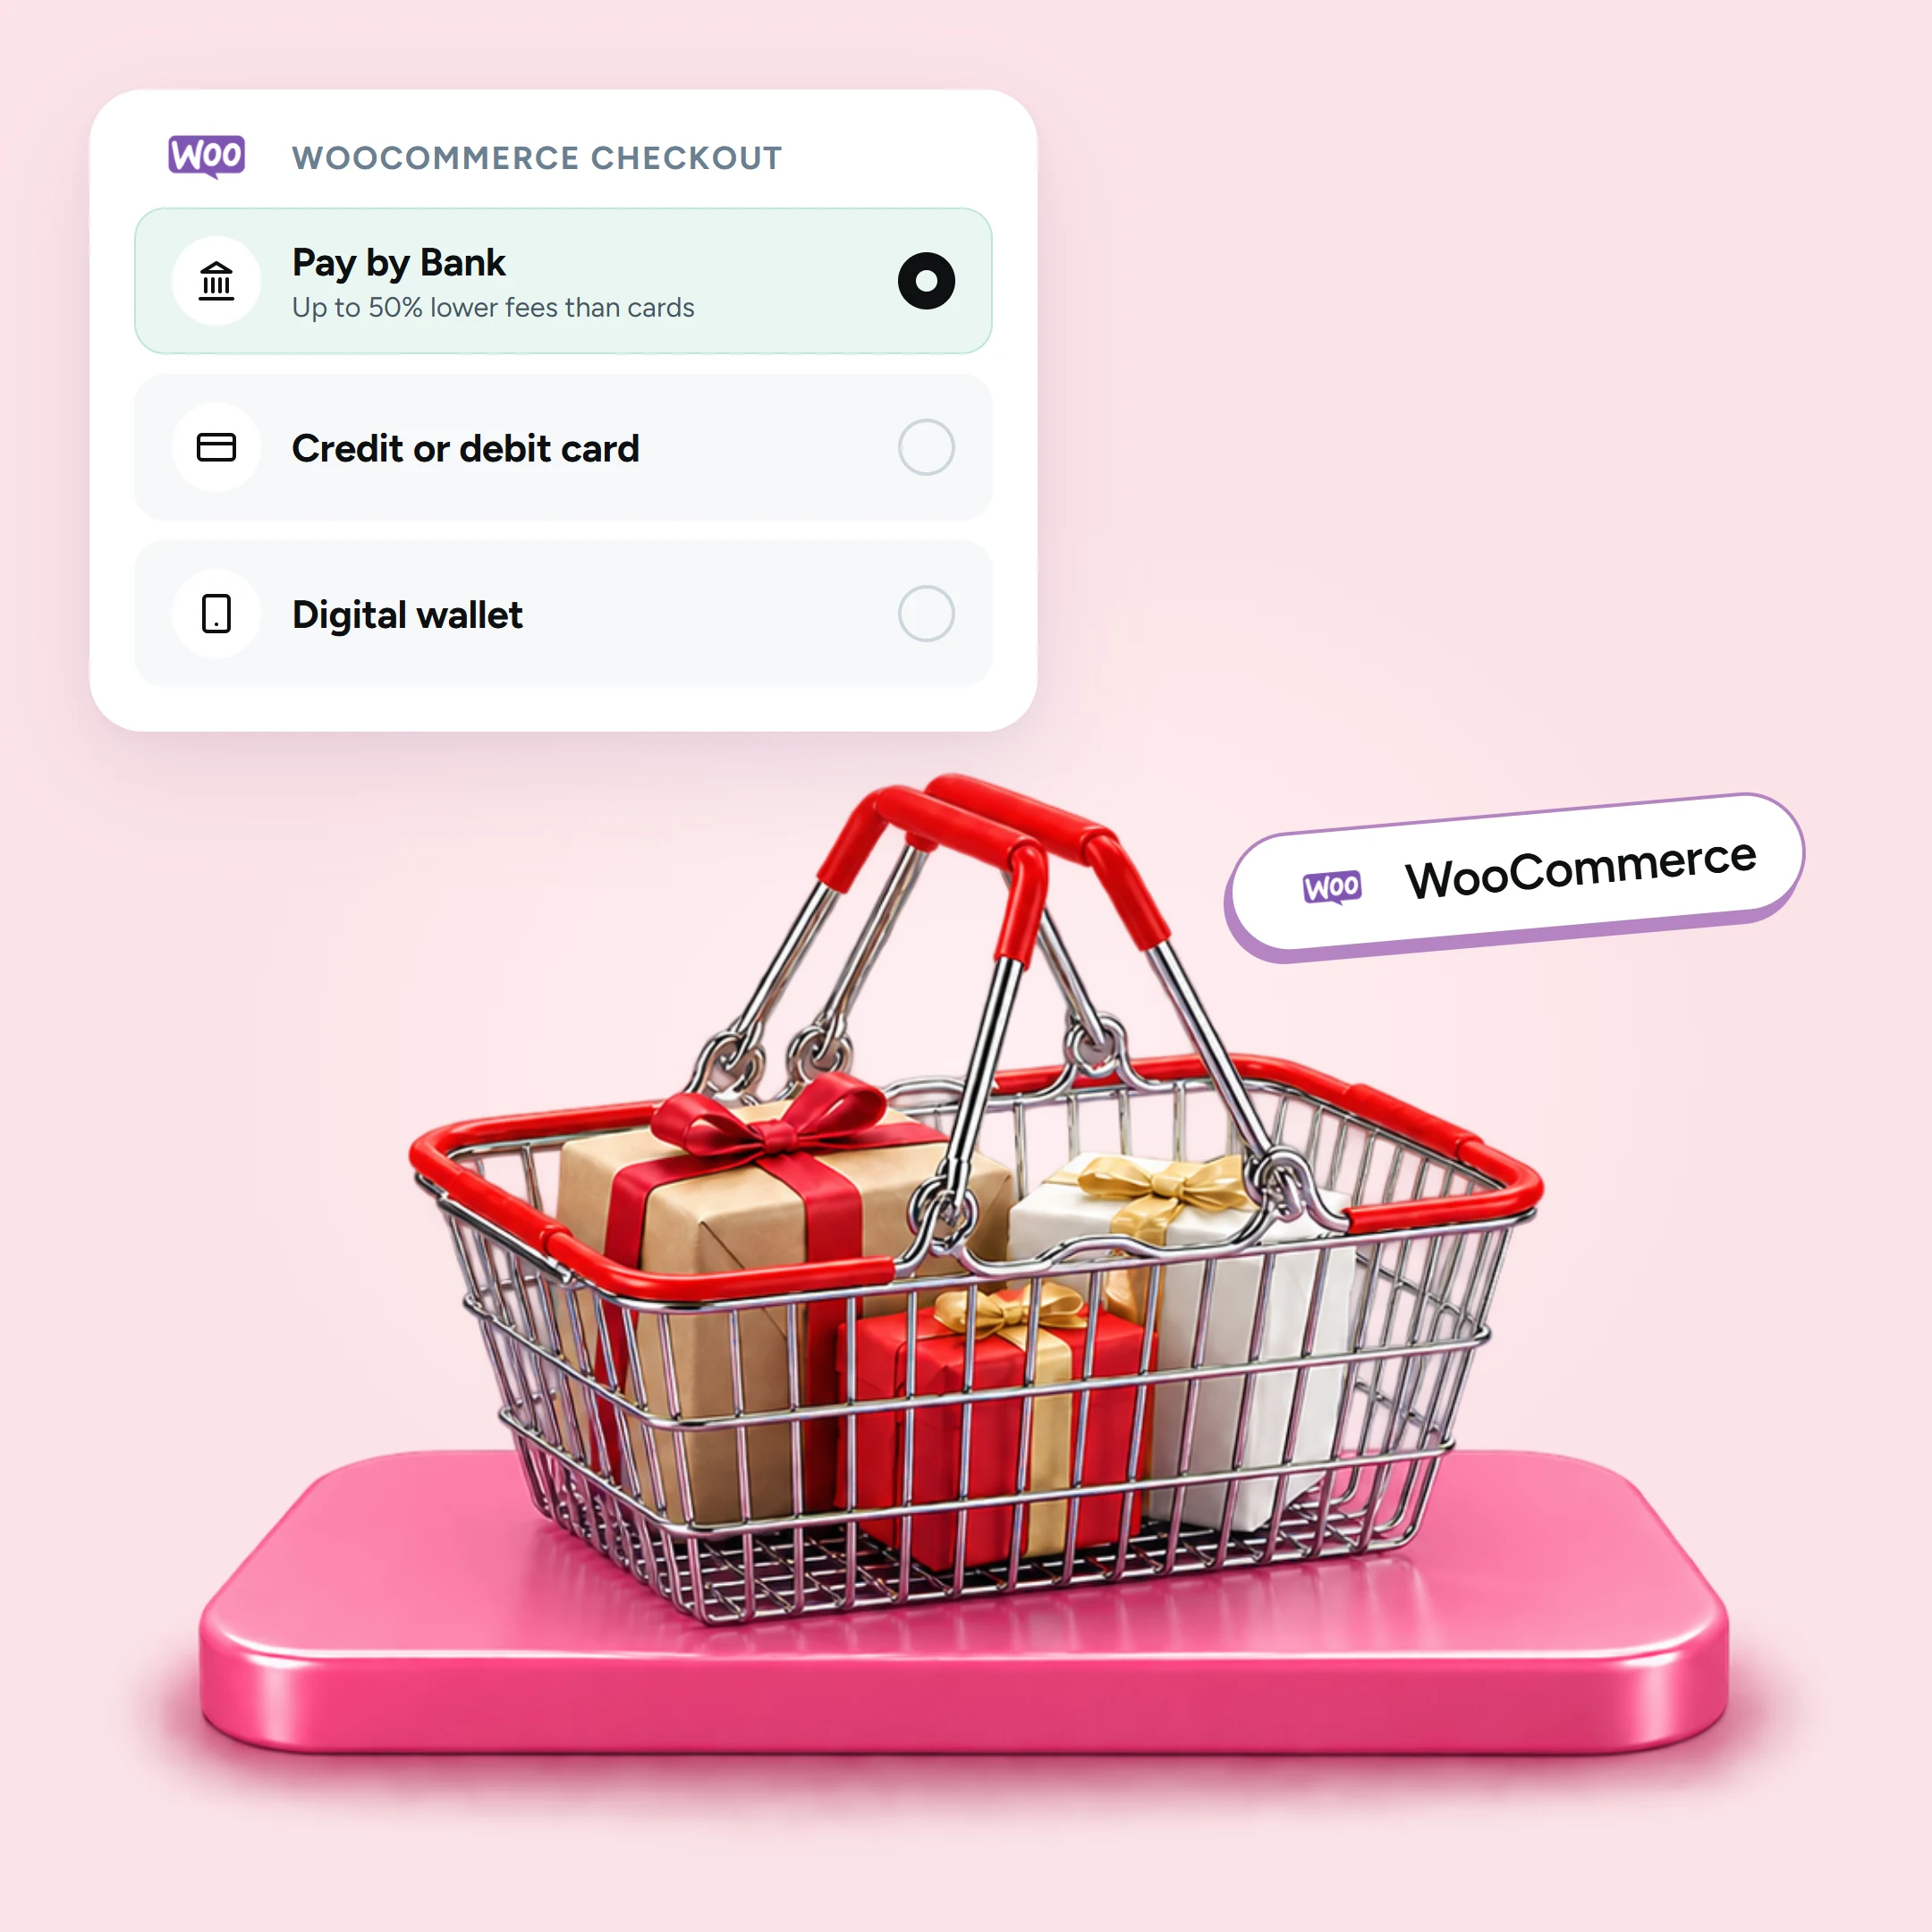
Card gateways cover most customers, but Pay by Bank is worth adding alongside them. To add Pay by Bank through Atoa:
- Sign up on Atoa, complete business verification, and generate an API access key in Settings, API Access. Paste your homepage URL into the Redirect URL field
- Install the free Atoa Pay plugin from the WordPress plugin directory and activate it
- Go to WooCommerce, then Payments, then Atoa Pay, and click Manage. Paste your API access key and save
- If V2 webhook signing is enabled in your Atoa dashboard, paste the webhook signing secret into the Webhook Signing Key field
- Test the full payment flow in Sandbox mode, then switch to Production
The plugin works with both Classic and Block checkout on WooCommerce, and most stores go live the same day. Full setup documentation is available in the Atoa WooCommerce docs and the plugin can be downloaded from the WordPress plugin directory. For the full step-by-step with exact screens, visit the Atoa WooCommerce integration page, and see how it works in your online checkout.
FAQs
How do I add a payment gateway in WooCommerce?
Go to WooCommerce, Settings, Payments, then either toggle on a built-in method or install the gateway’s plugin, connect your account with an API key, configure the settings, test in sandbox mode, and switch to live.unt, configure it, test in sandbox, and switch to live.
Do I need a plugin to add a payment method?
Not always. Offline methods like bank transfer and cash on delivery are built in and need no plugin. Most card and Pay by Bank gateways require installing the provider’s plugin.
How do I test a WooCommerce payment gateway?
Put it in test or sandbox mode and place a test order using the provider’s test details. Only switch to live once a test payment completes and the order reconciles correctly in WooCommerce.
Why is my payment gateway not showing at checkout?
Usually it is not enabled, the store currency is not supported, or the customer’s country is outside the allowed list. Check all three in the gateway settings.
How many payment gateways can I add?
As many as you need. Most UK stores offer a card option plus Pay by Bank, and set the order they appear at checkout so the lower-cost method is shown first.
Can I add Pay by Bank to WooCommerce?
Yes. Install the free Atoa Pay plugin, connect your account, and enable Pay by Bank at checkout. It works alongside cards, Apple Pay, and Google Pay in a single integration.
Sources
- WooCommerce payment settings and gateway setup: WooCommerce payments documentation; WooCommerce Payment Gateway API (developer docs).
- Adding Atoa Pay by Bank to WooCommerce: Atoa WooCommerce integration.
SHARE ARTICLE
Share link copied!