Ready to get started?
Easily integrate next-generation payments and financial data into any app. Build powerful products your customers love.
SHARE ARTICLE
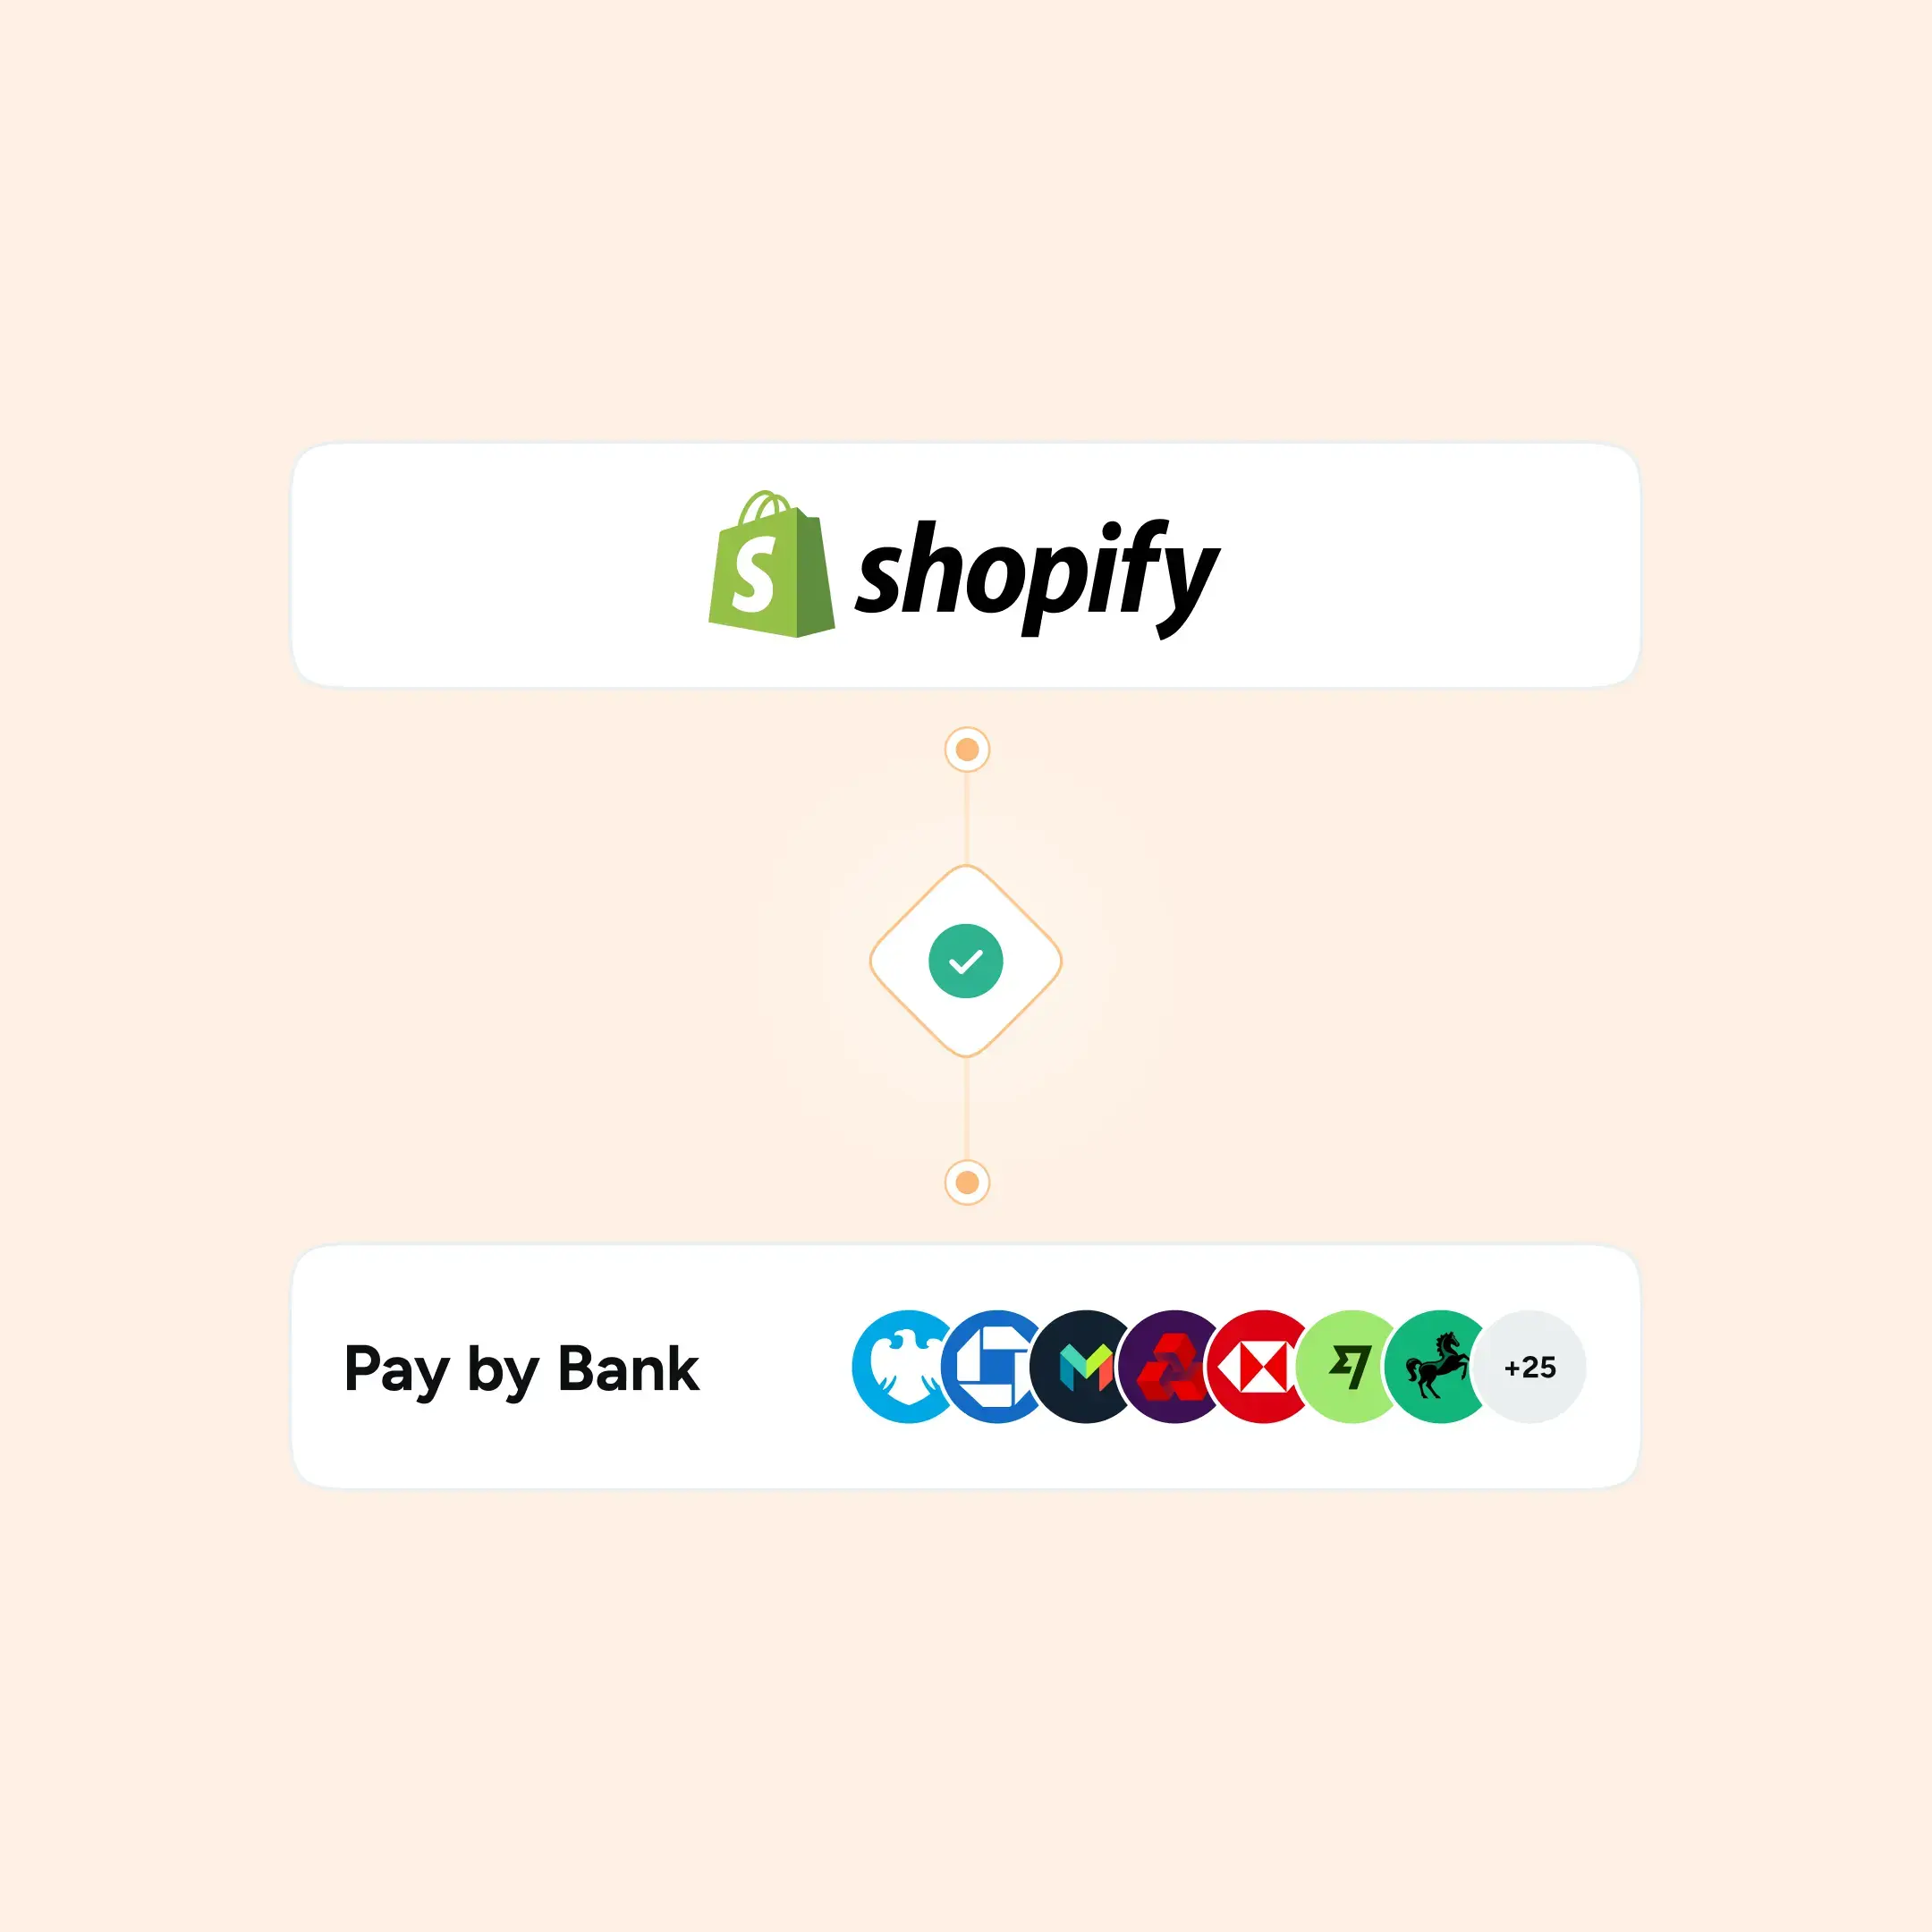
Adding Pay by Bank to your Shopify checkout gives your customers a faster, simpler way to pay, and gives your business lower processing fees and instant settlement. The good news is that the Shopify pay by bank integration through Atoa is straightforward. You do not need a developer, and the whole setup takes a matter of minutes.
This guide walks you through everything from prerequisites to going live, including a few optional steps to help you get the most out of it once you are set up.
Before you start
Make sure the following are in place before you begin:
- You have signed up for Atoa and connected your business bank account
- Your business is verified in Atoa and registered as a Limited Business
- The Payouts feature is enabled on your Atoa account, this is required for Shopify payments to settle correctly and for instant refunds to work
Please note: If Payouts is not yet enabled on your account, you will see a “Contact us” button rather than the Shopify setup option. The Atoa team will get in touch to enable it, then share the installation link with you.
Step 1: Install the Atoa app to your Shopify store
- In your Atoa dashboard, go to Settings from the left-hand menu
- Click on the Integrations tab
- Under the Shopify option, click Set up now
- Click Go to Shopify, this takes you to the Shopify App Store
- Click Install to add the Atoa Payments app to your store
If you are not already logged into Shopify, you will be prompted to sign in first. Once installed, the app will appear under Apps and sales channels in your Shopify dashboard.
Step 2: Connect Atoa with your Shopify store
- Back in your Atoa dashboard, tick the consent box and click I understand to authorise the connection
- If you manage multiple Shopify stores, you will be asked to select which one to connect. If you skip this step, payments will default to your primary store location
Step 3: Activate Atoa Payments in Shopify
- You will be redirected to Shopify’s Payments section
- In the search bar, look for Atoa, Pay by Bank and select it from the list
- Before going live, enable Test Mode and run through different payment scenarios: failed, pending, and completed
- You can then deactivate Test Mode to go live
Atoa Payments will now appear under Supported Payment Methods in your Shopify Payments settings. At checkout, customers will see a QR code which they can scan to complete the payment through their banking app.
Please note: Refunds do not work in Test Mode. They are only available once Payouts are enabled and the integration is live.
Go live checklist
- Test failed, pending, and completed payment scenarios in Test Mode
- Confirm your bank account is connected and KYB verified in Atoa
- Ensure the Payouts feature is enabled
- Deactivate Test Mode before taking real payments
How to check payments and issue refunds
Checking payments
You can track payments in both your Shopify Admin Dashboard and your Atoa dashboard. In Atoa, go to Payments from the left-hand menu and look for transactions labelled Shopify under the Source column. Click any transaction to view full details.
Issuing a refund
- In your Atoa dashboard, go to Payments and click the relevant transaction
- Click the Refund button, this takes you to the Shopify Orders page
- Select the order, click Refund at the top of the page, choose the items, and confirm
- The refund status will update in both Shopify and your Atoa dashboard
Optional: Optimise your checkout experience
Once Pay by Bank is live, a few optional steps can help give customers a smoother experience. If you are using multiple payment methods on Shopify, for example, both Atoa Pay by Bank and card payments, the BeSure Checkout Rules plugin gives you more control over how they are displayed.
With BeSure you can:
- Rename payment methods for clarity, such as labelling them “Pay by Bank” and “Debit Card”
- Move Atoa to the top of the checkout options so customers see it first
- Hide, reorder, or apply discounts to specific payment methods
To rename a payment method: open the BeSure dashboard, click Rules, select Payments, then choose Rename payment methods, enter the new labels, and save.
A note on card payments
Atoa also supports card payments through a separate Shopify plugin, so you can offer both Pay by Bank and card from a single provider. Customers choose what works best for them at checkout. You can manage all your payment methods from the Payments section of your Shopify admin, where both Atoa options will appear once installed.
The Shopify pay by bank integration with Atoa takes a matter of minutes to set up and nothing about your existing checkout needs to change. Pay by Bank simply becomes another option available to customers alongside whatever you already have in place.
Need help getting set up or want to see how it works before you install? Get in touch with the Atoa team and they will walk you through it.


